

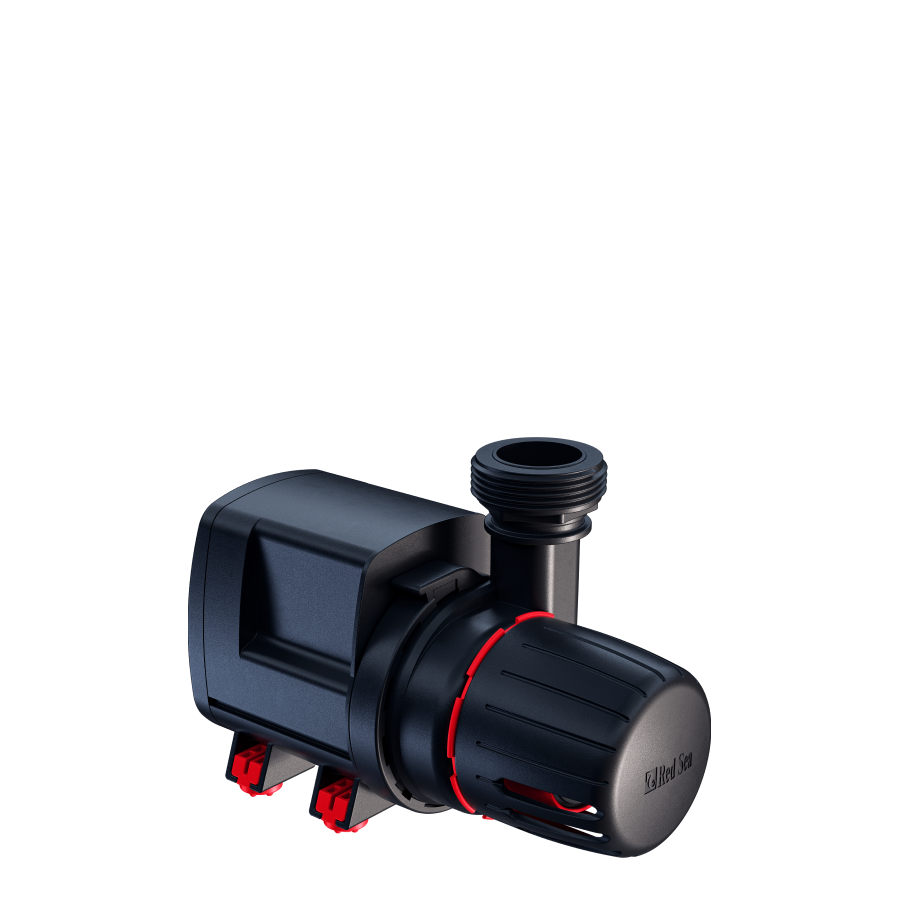


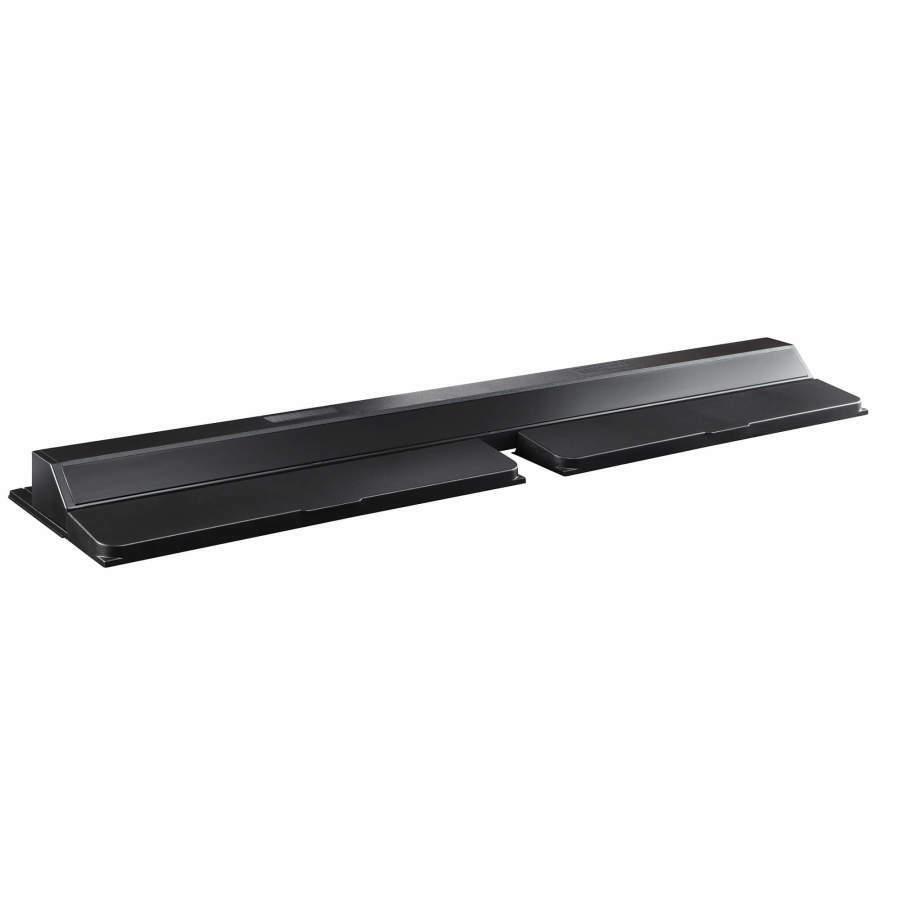


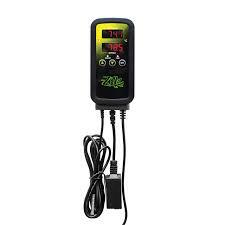


This item includes the Neptune Systems DOS Dosing Pump and DDR Reservoir.
Connect the 24V Power Source to a wall outlet and your DŌS module. It does not need to be plugged into an Energy Bar outlet. If you choose to plug into your Energy Bar be sure that outlet mode is set to ON.
Connect the 6′ aquabus cable to your DŌS module and any available aquabus port on another Neptune Systems’ module.
After the initial connections have been made, the status light on the DŌS will glow orange.
For manual rotation control of each motor there are two priming buttons located on the center of DŌS.
Feel free to test the motors are in operating condition by pressing the priming buttons on Pump 1 (Left) and Pump 2 (Right). The LED status light will turn blue when the pump is running. Use these for supplementing your DOS’s schedule with addition amounts.
DŌS has two convenient mounting options:
- Easy punch out mounting holes on the back so that it can be mounted inside your cabinetry or wall.
- Placed on a shelf or floor. The DŌS pumps were designed offset so tubing would not kink if multiple DŌS modules were stacked on top of each other.
It is of the utmost importance that your fluid reservoirs be placed below your DŌS module. Although extremely unlikely, this could cause a gravity siphon in certain equipment failure scenarios.
We also recommend that your DŌS tubing never be submersed in your tank. It should be just above your water level. Again, in certain equipment failure scenarios, this could possibly cause an unintended gravity siphon.
The DOS can pump up to 24′ vertical feet without any loss of head pressure.
PLEASE NOTE: Neptune Systems always recommends that all equipment be mounted above the water line and/or with appropriate drip loops!
On your DŌS pump cover and peristaltic assembly there is an “In” and and “Out” label. While the pump can run forward or reverse, typically it will run “in” to “out.” So “in” will be liquid coming from a container and “out” will be going to your aquarium.
Moving forward and in the configuration of the DŌS pumps, we will always assume the the tubing coming from your additive container is connected to the “in” and tubing going to your aquarium will be connected to the “out.”
Remove the compression fitting from your pump cover by turning it counter-clockwise.
Four meters of tubing was included with your DŌS purchase. Now that you have a good idea of where your DŌS will be mounted we can measure and cut the tubing to the appropriate length.
Note: Additional tubing is available.
Measure the length of tubing that will be needed to connect your DŌS pumps from your additive container and aquarium connectors. Then cut that tubing. A good method to securing the tubing in your aquarium or sump is using the Neptune Systems Magnetic Probe Rack (MPR).
Place the compression fitting on your measured tubing and then connect it to DŌS pumps.
Visually inspect your tubing and length as well as the compression fitting for each tube.
Get two cups and fill one of them with water (tap is fine). Also have your included graduated cylinder handy.
We will calibrate one pump at a time. Starting with the Left. Place the ‘IN’ tubing into the cup with water and then place the ‘OUT’ tubing into the empty cup. Then follow these steps below
- On your Apex Display Screen navigate to:
Setup
Module Setup
Config Module
DOS Module
Calibrate Pump
The Display Screen will instruct you to prime the pump. Now, hold down the manual priming button on the DŌS and watch your pump start to transfer water from one cup to to just about the end of the outbound tube. Keep at it till liquid flows freely into your empty cup and there are no air bubbles in the tubing line.
We are going to prepare to calibrate the pump. Move the ‘OUT’ cup away and now place the outgoing tubing into your graduated cylinder.
On the Display Screen press ‘OK’ to start Calibrating the Pump. The pump will run for 90 seconds attempting to dose 40 ml, then stop.
After it stops, note how much water is in the graduated cylinder after the 90 seconds and enter that value on the Display Screen.
- Please note when reading from the graduated cylinder
- It’s important to view it directly level with the liquid level- don’t view it at an angle
- Note that the liquid in the cylinder curves upward at the walls of the cylinder. The bottom is called the “meniscus.”
- Your reading is from the meniscus and precision is important
- Repeat the above steps for the other pump.
NOTE: Neptune Systems recommends you re-calibrate the pumps every 100 hours of operation or any time you change to a liquid with a substantially different viscosity.